
Photoshopの写真を縮小する-それで機能する
Photoshopで画像を希望のサイズに縮小する方法については、こちらの説明で説明しています。
Photoshopで画像を縮小する-5つのステップ
- タスクバーの[画像]メニューを開き、[画像サイズ]メニュー項目を選択します。 または、キーの組み合わせ[Alt] + [Ctrl] + [I]を押すこともできます。
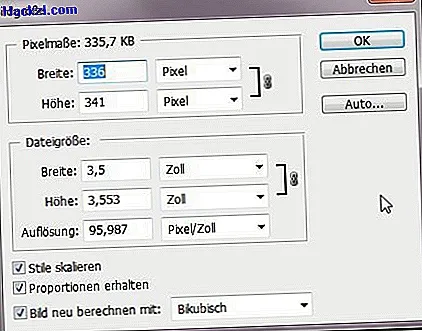
- ダイアログウィンドウ「画像サイズ」が開きます。このウィンドウは2つの領域に分かれています。上の領域にはピクセルの寸法が表示され、下の領域には画像の長さの寸法が表示されます。 これは、写真を印刷する場合に特に便利です。
- ドロップダウンメニューから目的の単位を選択し、いずれかのフィールドに目的の高さまたは幅を入力します。
- 標準設定が有効になっている場合、アスペクト比は保持されます。 これを受け取りたくない場合は、「プロポーションを取得」のチェックマークを外してください。
- 縮小後も画像のシャープネスが満足のいくものではない場合は、[画像の再計算]ドロップダウンメニューで[双曲線シャープ]オプションを選択します。
もう1つの実用的なヒントでは、Photoshopで画像全体をミラーリングする方法を示します。